Teachers can view and print rosters of students in their classes. Within each Edsby Class, teachers see a Student panel, which lists students currently enrolled in the class. it is only visible to teachers.
Teachers can click Students to open the panel to access additional actions. The window first shows Portrait View which displays photos or initials of all students in the class. Clicking a student will show the teacher their Edsby Panorama.
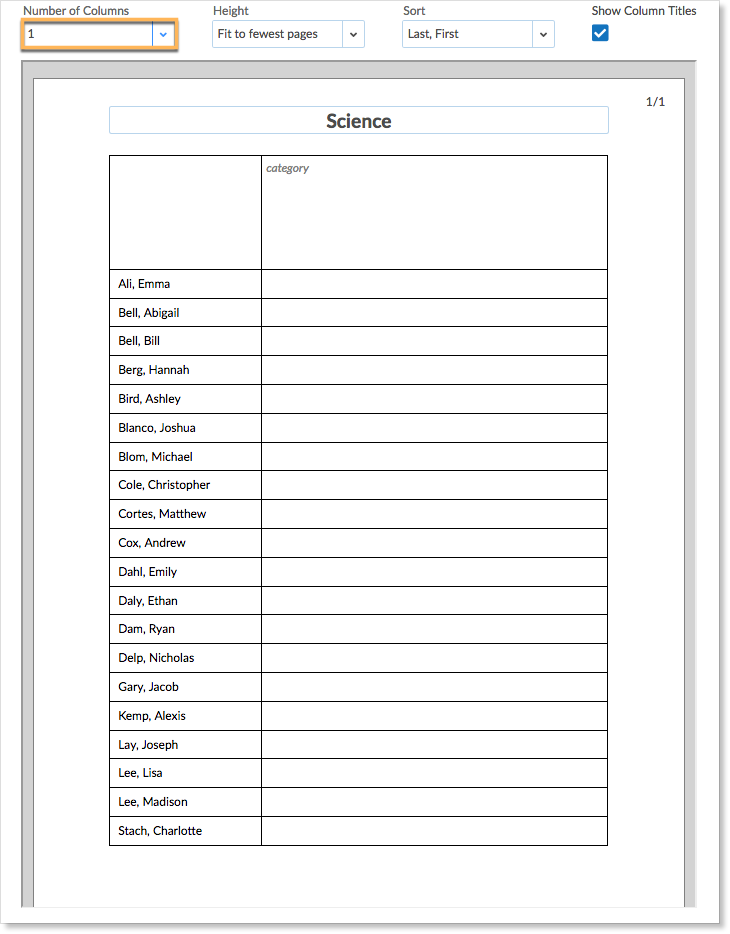
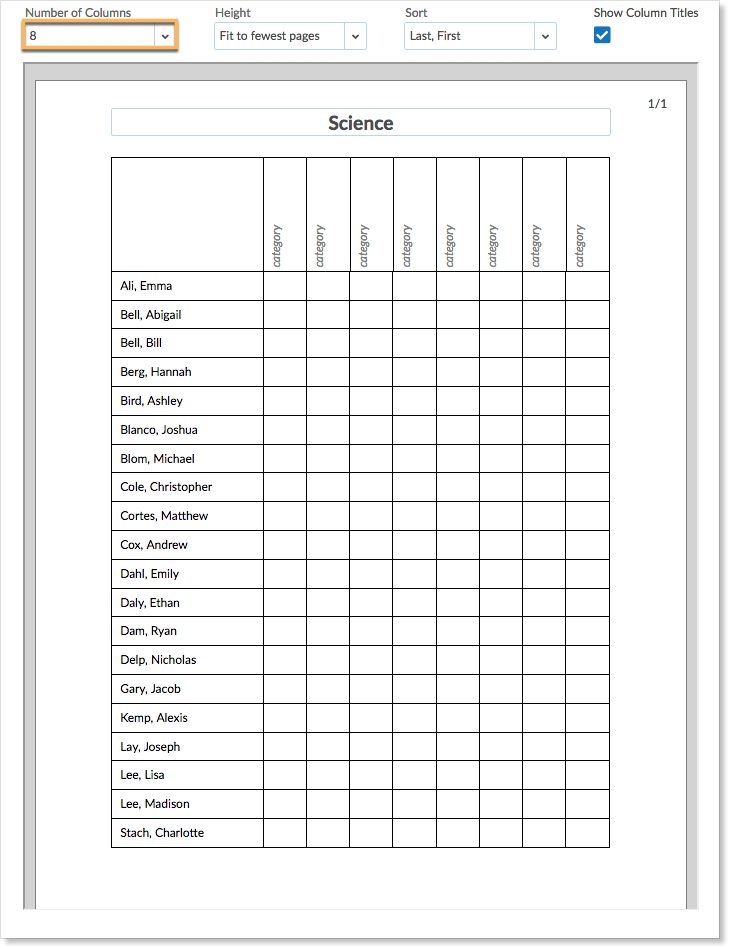
Teachers may print a student list by clicking Roster. Teachers can customize the student list to the number of columns they desire.
To display the names of the students in a simple list view, try a 1 column roster.
To display the names of students with multiple columns, for example, for a checklist, experiment with more columns.
Teachers may adjust the height depending on how much space they desire in each row.
Choose how to sort the names in the list.
To show column titles, click the checkbox.
Teachers can add titles or leave them blank to write in later.
Once the roster has been customized as desired, click Print.
Using Class Lists for Online Teaching
Teachers may print a class roster to keep track of who has participated in a class.
Teachers may find it useful to copy or export a list of students for use in an external program.
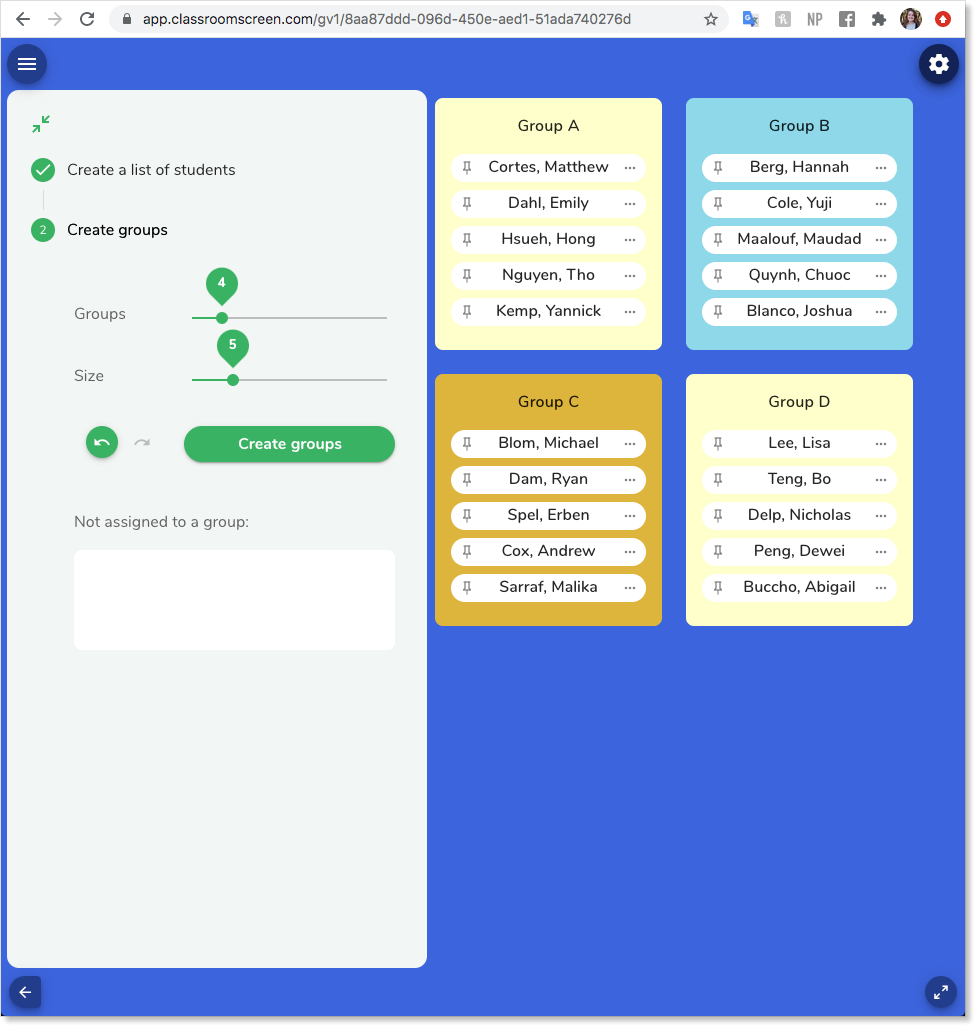
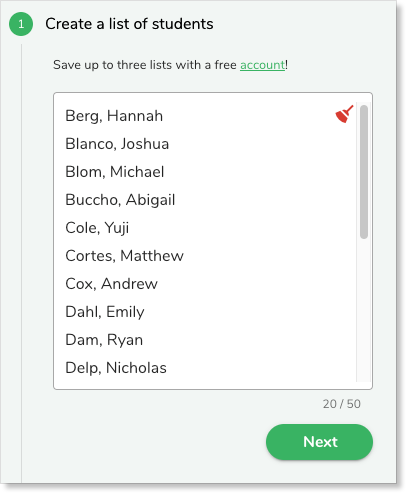
For example, try copying the names of your students into a website like classroomscreen.com to quickly make groups of students for breakout discussions in class.
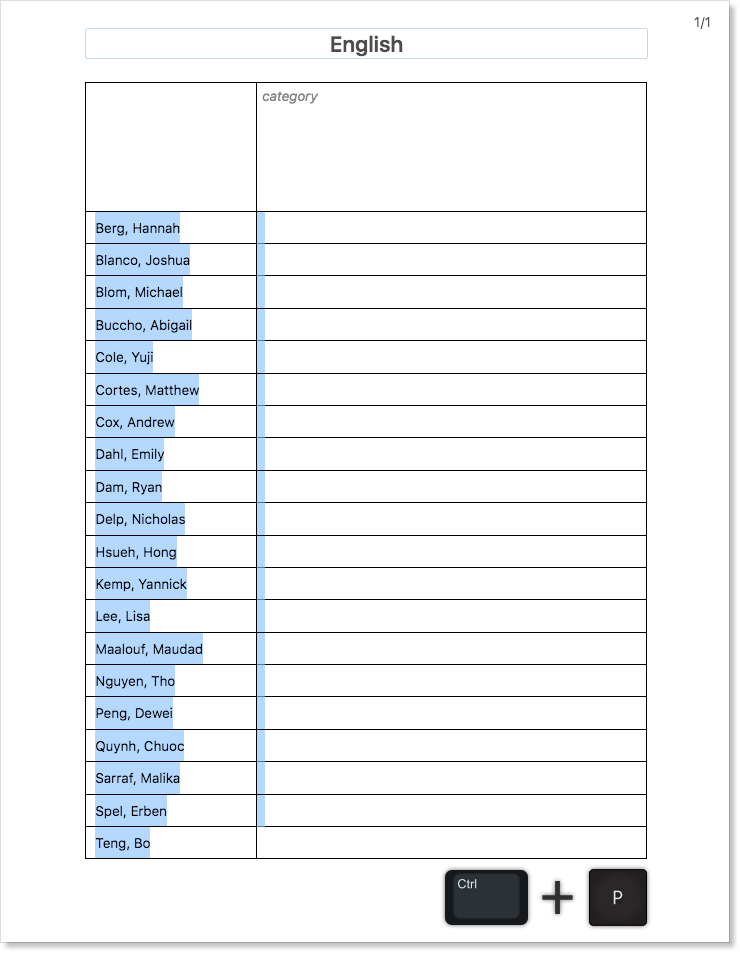
Set the roster to one column. This creates a simple list of names.
Move your cursor to highlight the list and click Ctrl+C to copy.
Navigate to a program that makes groups out of a list of names and paste the list.
Teachers can also easily export student lists to use as a csv file by clicking Export.
Click here for more suggestions on using Edsby for online learning.


